Recently, I made this dress, and it is one of my favourite projects ever. It turned out exactly as I planned. I love that it looks polished and elegant, but was an absolute breeze to make and is just dreamy to wear ~ light, comfortable, not the least bit fussy. I feel like I am wearing and nightgown, but I look ready for a night on the town. What more could I want from a dress?

Thanx to Pinterest, some months ago, I fell in love with THIS TUTORIAL
It looked simple (a major bonus, because I have limited skills and, thus, work best on simple projects), and I love the design. It looks so breezy and easy-to-wear, yet totally stylish and unique, too. Since I first saw it, I have thought I would love to use this design to make a dress. It seemed to me that, if I just made the panels longer, it should work beautifully. All I needed was the perfect fabric.
I bounded off excitedly in the direction of my local fabric shop in search of the perfect material for my lovely new dress. Unfortunately, it just wasn't there. So, for months, as I was shopping for other projects, I kept this one in the back of my mind. I decided not to push it. This dress had to be the perfect balance of style, grace, elegance and comfort. When the perfect fabric found me, I would know it.
One day recently, I met a couple of friends at the fabric store, thinking we were just there to shop for them. It just so happened that I once again came across what I thought might be the most beautiful fabric I had ever seen. It was a very lightweight knit, with cascades of sparkles (tiny silver dots, hearts and stars) cast in diagonal lines across it. I had seen it once before, but thought maybe it was a bit too expensive. However, on this particular day, it was 30% off; and it was just so pretty. It was still not exactly cheap, but, because I have been frugal, used coupons, waited for sales and shopped from the remnant bins as much as possible, I decided I could afford to splurge a little for a very special dress.
I held the fabric in front of myself, with the selvages at the sides, at just about the position I guessed would be appropriate for the top edge of the dress, and let it fall the the floor. I wanted a long dress. Adding a couple of inches to allow for the casing, I settled on this length (no, I did not measure) for the cut.
When I got it home, following the instructions in the tutorial, I held the fabric up across my torso and added a couple of inches, to figure out how wide I would need it to be. I decided to be generous with this measurement, because I wanted my dress to be very floaty. The measurement I came up with was about 24 inches for each panel.
First, I folded my fabric with the right sides together, matching the selvage edges and pinning them together.


This left me with two long, 24" wide panels, which I pinned together along the newly-cut edge. I set aside the remaining piece of fabric, which was just as long as this one and still folded, for later use.

I took the panels over to my machine and stitched up both sides, starting about 5" formt he top and ending about 5" from the bottom. I did this to form the opening for the arms at the top and a vent on each side at the bottom. I wanted vents (or slits) on the sides, so I wouldn't have to worry about ripping my dress if I decided to run after a taxi or dance like a fool. I do that sometimes.

Next, I hemmed the edges of the armholes and side vents by folding the fabric back along the edge, pinning and then stitching it.


The pic is blurry, but, basically, what you want to do is sew along one edge of the pinned opening, pivot, sewing back and forth across the top (or bottom, in the case of the armholes) of the opening, pivot again, and sew down the other side of the opening. I hope that makes sense. Up one side, across, down the other side. Got it?

Now, it was time to create the casing for the shoulder straps. I wanted a nice wide casing, so I could use a variety of straps, so I folded down the top edge about 2 inches and pinned it in place. I did this on both the back and the front of the dress, then stitched close to the edge along the bottom of each casing.

Remember that folded piece of fabric I set aside way back when I cut the two panels for the front and back of my dress? That's going to be my strap. Leaving it folded (right sides together), I cut all along the length of the fabric, about 2" from the folded edge. I pinned and sewed all along the cut edge, leaving the short ends open.

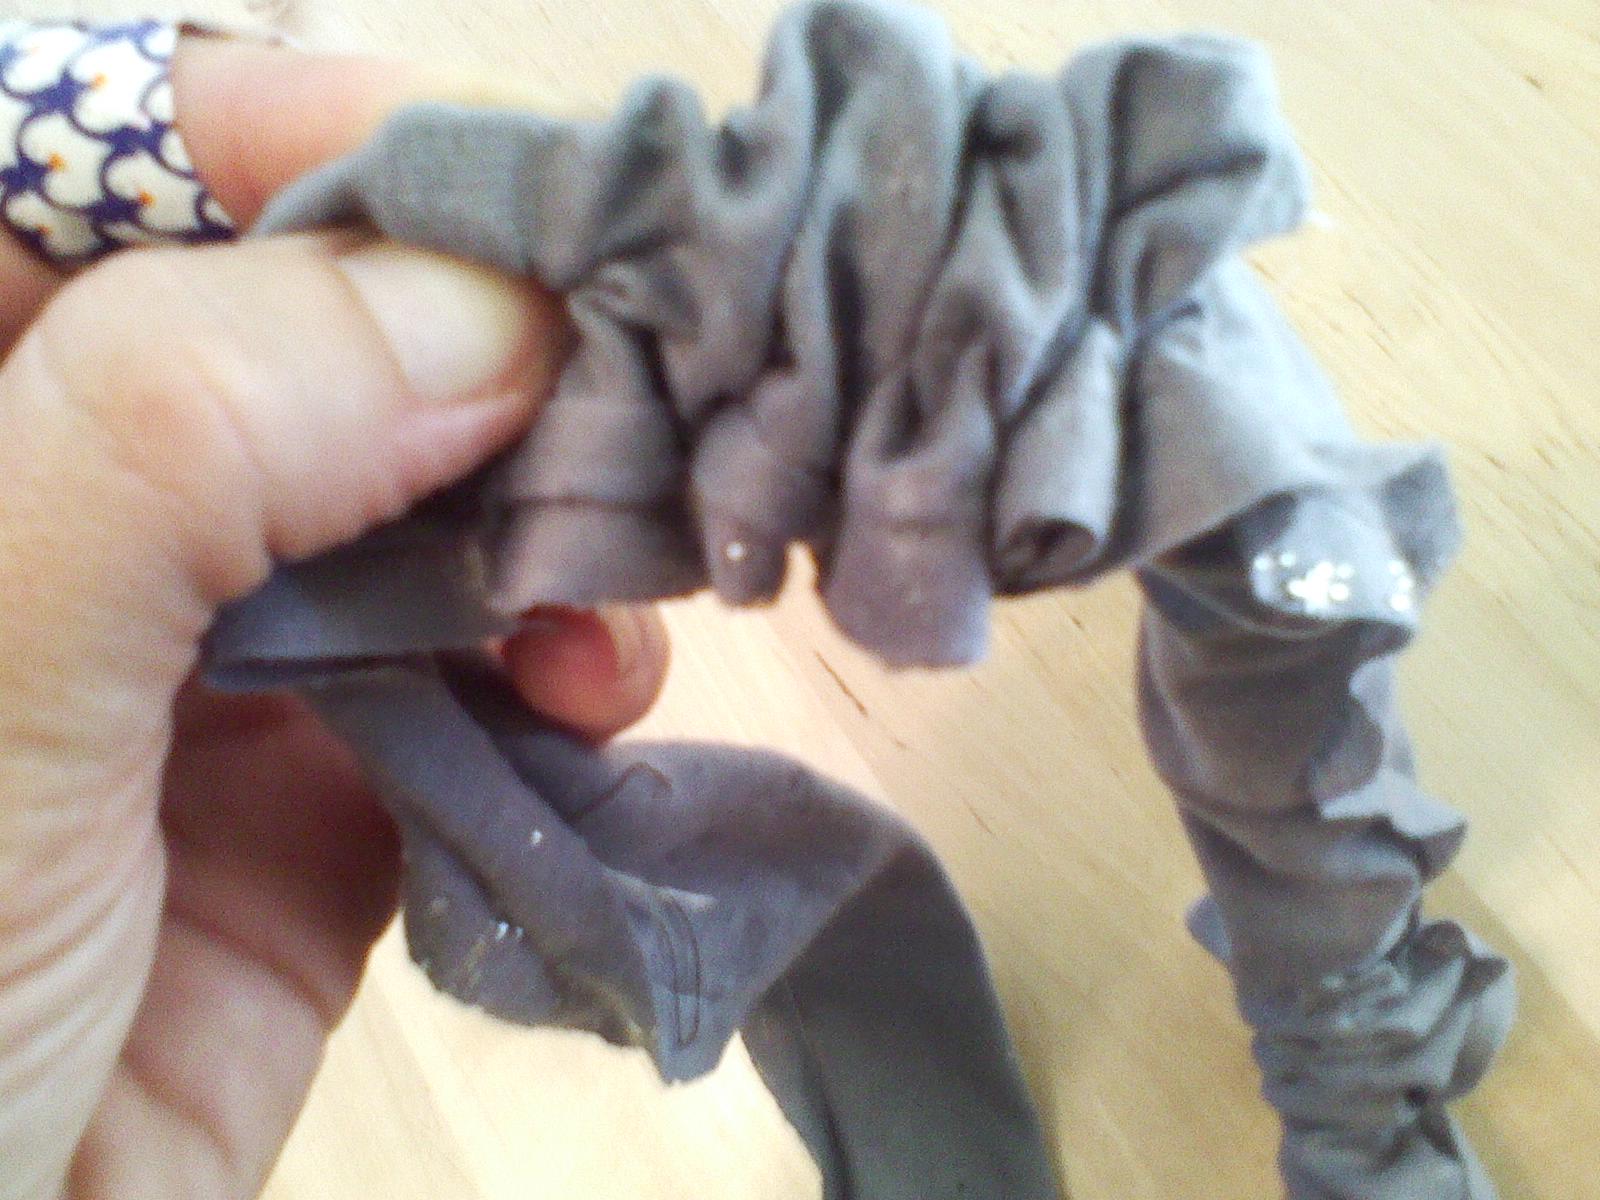
This next part is difficult to explain, but stick with me. Hopefully, the pictures will help. I attached a safety pin to one of the open ends.

I pushed the safety pin inside the tube I had created and, pushing it through the tube to the other side, turned the strap right side out. (See the penguin bandaid? Heed this advice: respect the rotary cutter.)


I don't have a picture of this, but, once it was right side out, I folded in the raw edges and sewed shut the ends of the strap.
The part's hard to explain, too, but I will try. I fastened a safety pin to one end of the strap and fed it through one casing, then through the other. (The tutorial I referenced earlier explains this process much more clearly. It's really and excellent tutorial for a great little project.)

Oh my gosh! It was starting to look like a dress!

That was it! I was ready to try on my dress. The first time I tried it on, I used the self strap at the shoulder, as shown above, and a cute chain link belt I found online at Jewel Mint (it has a cute I.D. bracelet and padlock detail, which I adore) at the waist. My original plan was to use the chain for the straps and the strap I made as a belt, and I have to say, I do like it that way best (see the very first pic in this post). It's nice to have options, however, so I think I will play around with it. I think a wide, sheer silvery gray ribbon would make a cute strap, too.
Justice took these pictures of me outside right after I made it:


On a super-hot day, I can wear it unbelted as a cool and comfy sheath.

No comments:
Post a Comment